The fuel tank installation (photo album) was straightforward. The only ‘difficulty’ was the length of the bolts used to hold the tank in place. For some reason the F5 bolts are too short for an easy connection. It’s a problem pretty much everyone has and yet the bolts remain just not long enough (one can make them work but why the struggle?) So, I bought longer bolts:


Just above: the tank in place.
A problem that is only realized when attaching the body is that the upper bolts for attaching the PS rear off the body are too long to get into place with the tank already in. A solution posted on the F5 build site is to attached a coupling to the outer side of the frame, prior to installing the tank, that then allows the body to be attached using threaded rod instead of the longer bolt. Unfortunately, I discovered this issue after installing the tank but, fortunately, before doing much else. I’ll cover this more in the section on attaching the body.


The sending unit showed a range of 15.6 to 160.7 ohms, empty to full. The sending unit will communicate with the Fuel Link box that interfaces with my Classic Instruments fuel gauge.

The fuel sending unit in place in the tank:

Below is the tank vent. Eventually, I’ll connect it to a fume filter.

The fuel delivery side of the tank: the vent in place; the Walbero GSS320 in-tank fuel pump and the high flow fuel return fitting from Breeze Automotive (p/n 70750). The fuel pump is a 255 lph with a 100 micron filter. All fitting are AN 6 (3/16”). The flexible fuel hose is Earl’s Vapor Guard EFI hose.

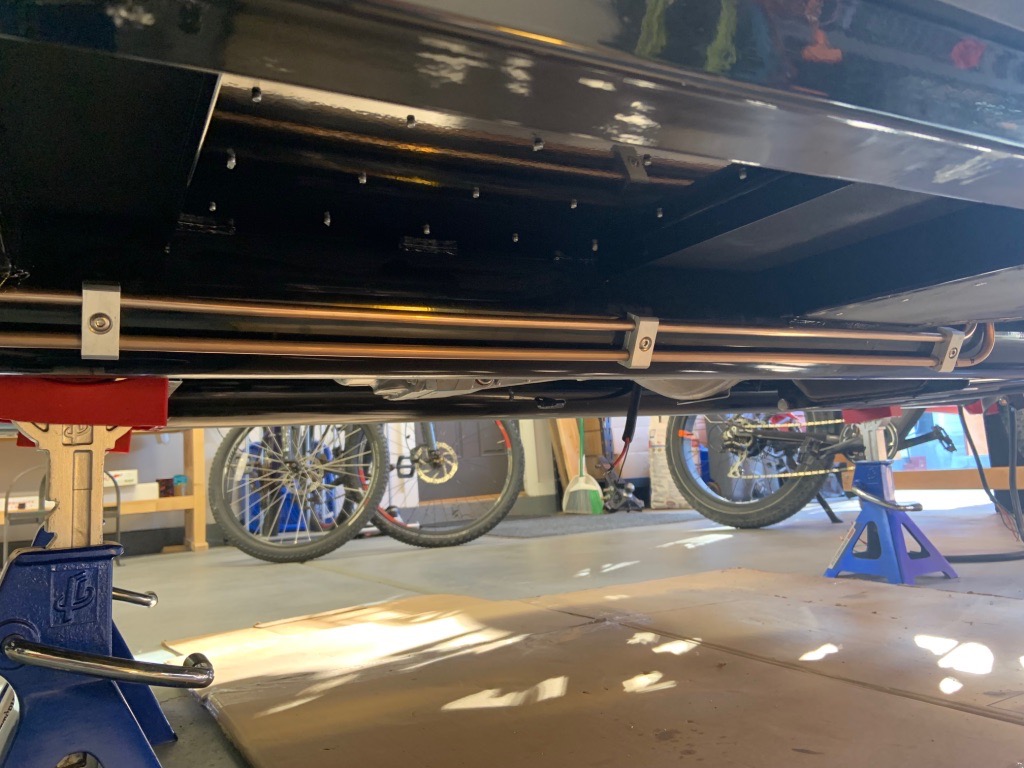
Downstream of the fuel pump is a Aeromotive canister fuel filter with a 10 micro filter. Fuel lines that run along the chassis are 3/8” NiCopp tubing held in place with Loadstone Billetworks clamps:

The post-NiCopp tubing is again Earl’s Vapor Guard and it connects to the Holley Sniper EFI:


Below is a list of the parts that I used in the construction of the fuel lines.
