Sunshine Garage Mk IV Roadster
The construction of a Factory Five Mk IV Roadster
Site Navigation
[Skip]
Home
Build Overview
Build Blog
Construction steps
Build Checklist
Body buck construction
Front suspension
Front disc brakes
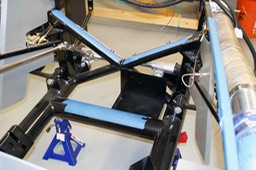
3-link
Rear brakes
Steering rack
Fuel supply
Pedal box
Brake lines
Aluminum
Emergency brake
Footbox fresh air vents
Instrument panel
Glovebox fabrication
Cooling systems
Engine Installation
Hydraulic clutch lines
Photo Album Directory
Fasteners photo album
Body buck album
Front suspension album
Front brakes
3-link
Rear brakes
Steering rack and column
Pedal box
Fuel Tank
Brake lines
Aluminum
e-brake
Footbox vents
Electrical system
Instrument panel
Glove box
Cooling system
Engine installation
Supplemental Technical Data
AN to SAE Conversion
Brake Balance v. Deceleration
Brake System Calculations
Fasteners and fittings
Fluid Line Clamp Spacing
Links to technical information:
Tap and Clearance Drill Sizes
Tools
Road and Track (2013)
Torque specs: Factory Five
Torque specs: SAE Grade 8
Electrical system
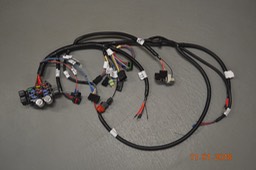
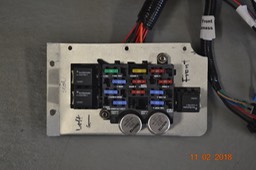
Main fuse panel harness
Front harness along frame rail
Rear harness
Main fuse harness after the fuse panel is installed
Exiting of alternator cable, engine sensor and rear harness
Routing ot rear harness through transmission tunnel
Dash harness
Connection of front harness to main harness
Fuse box in place
Mater cutoff switch
Battery ground to chassis
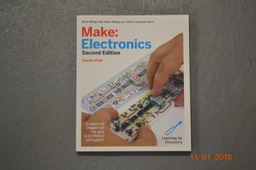
A great electrical training book
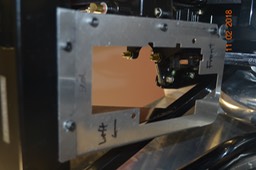
Fuse panel holder attached to chassis in trial fit
Fuse box ready to mount
Laying out the wire loom
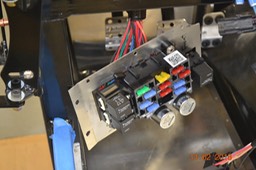
Fuse panel in holder
Vertical view of the fuse panel in place
The rear and engine harnesses exciting the fire wall
Breeze battery box
The Breeze battery box
Vertical view of the battery in place
Group 51 battery in the Breeze box
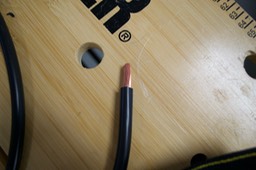
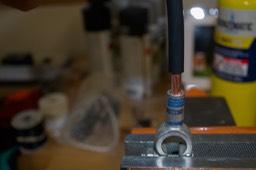
The 4 ga. negative cable
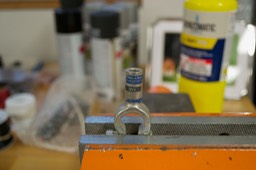
The negative terminal
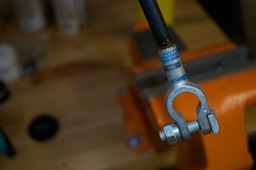
Battery ground cable and terminal, from Breeze kit
Completed terminal, wire soldered in place
Tapped chassis hole for grounding the negative cable
Battery grounds in place
Vertical view of the Breeze box
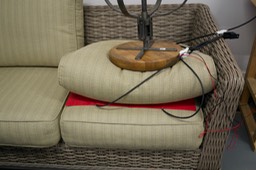
Testing the Cobra Heat seat heater
Template for the trunk license plate wiring
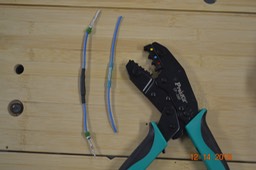
Some completed test connections
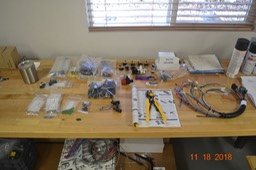
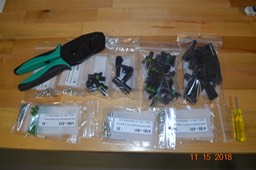
Layout of some of the electrical parts
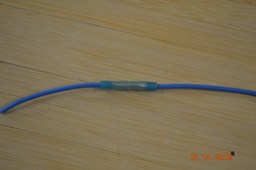
Test connection using a butt connector
Weather Pack connectors and Proskit CP 336F
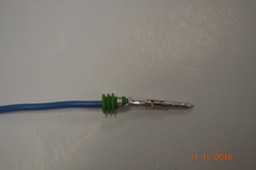
Weather Pack test male connection
Test Weather Pack male connection
Weather Pack housing
Routing of front harness
Rear harness laid out
Routing for license plate light and trunk light
Routing for license plate and trunk lights
Testing courtesy light switch
Testing the rain light
Fuse block for additional accessories
Making the fuse block attachment plate
Fuse block attachment plate
Template and plate
Vice bending brake to put bend in attachment plate
Plate attached to fuse block
Fuse block in place
Fuse block
Tapping hole for ground lead attachment
Testing the horn button w/LED
Painted attachment plate on fuse block
Grounding lead for connecting to ground strip
Ground lead attached
Ground leads: from fuse block and wiring harness
Testing trunk light switch
Plate for holding trunk light
Trunk light assembly
Trunk light assembly
Trunk light holder temporarily in place
Painted trunk light holder
Trunk light in place
Trunk light tested in place
[Back To Top]